AI · Blender
AI-generated PBR textures for archviz: from attractive image to usable material
Turn AI texture ideas into usable architectural materials. Learn to remove baked lighting, check tile seams, author PBR maps and validate scale before delivery.
 AI
AIA generated texture is not yet a material
AI-generated textures can be useful starting points for architectural materials, particularly when a concept needs an unusual surface treatment that the existing library does not cover. The important distinction is between a picture of a surface and a material that behaves coherently under changing light. A generated stone image may contain attractive veins, convincing shadows and glossy highlights, yet those same baked lighting cues can make it unsuitable as base colour. The production work begins after generation: isolate the surface information, define its physical scale and build channels that the renderer can interpret consistently.
PBR means physically based rendering, not automatically physically measured. A material can use a principled shading model while containing guessed roughness, invented relief and an implausible colour map. Some research systems generate coordinated material channels or estimate surface properties, but a general-purpose image generator should not be assumed to do so. Its output may be a visual suggestion rather than calibrated surface data. Treat that suggestion as reference or raw artwork, then validate each shader input. The objective is a controlled architectural finish, not a collection of maps that merely looks technical in a folder.
Define the surface before generating detail
Begin with a short material brief. Specify whether the finish is ceramic, stone, plaster, timber or metal; describe its manufacturing or installation logic; and identify the visible scale. Honed limestone with restrained fossil marks is a different task from polished marble with dramatic veins. A board texture needs grain aligned with the board, while a plaster surface needs variation that does not imply arbitrary masonry joints. The clearer these distinctions are before generation, the less time is spent rescuing an image whose pattern is visually interesting but wrong for the building.
Use a reference to define what generation is allowed to vary. If the architect has specified a named product, the supplier's approved information remains the reference and an invented texture is not a substitute. For an exploratory concept, state that the material is illustrative and preserve the intended scale and finish family. Ask for even illumination and no perspective distortion when producing flat texture artwork, but inspect the result rather than trusting those words. A generated image can still contain a gentle vignette, directional shadow or apparent surface curvature that becomes obvious only after tiling.
Remove baked illumination from base colour
Base colour should primarily describe surface colour without illumination that the renderer will calculate again. A shadow embedded in the map darkens the surface regardless of where the scene's lights move. A photographed-looking highlight embedded in stone can remain fixed while the real reflection moves across it, creating two incompatible explanations of the finish. Inspect broad gradients and bright streaks first. They are easy to mistake for natural variation. When removal would destroy the material pattern, reject the source and generate or acquire a cleaner one rather than compensating with the shader.
Do not flatten every tonal change, because genuine surface variation also matters. The task is to distinguish material colour from lighting, not to produce a uniform swatch. Compare patterns across the image: a smooth darkening toward one corner is suspicious; irregular mineral inclusions may be legitimate artwork. Automated delighting or map extraction can assist, but it estimates information rather than recovering a known physical truth from nowhere. Keep the original source and judge the cleaned result under a simple movable light. That test reveals whether the finish changes coherently or retains a fixed photographic shadow.
Test tileability beyond the image borders
Tileability has two separate tests: continuity at the boundary and repetition across a large area. A texture can have seamless edges while repeating a memorable dark vein every few metres. Offset the image so its original borders meet in the centre and inspect the joins. Then preview several repetitions together, preferably on the actual floor or wall proportions. Repair both abrupt discontinuities and conspicuous motifs. A prompt requesting seamless texture is not proof of either condition. The final arrangement must survive the intended camera distance and the breadth of the visible surface.
Respect construction joints instead of hiding every repeat through randomisation. A tiled floor has pieces, grout and an installation pattern; a limestone wall may have a deliberate slab layout. Rotating or mirroring maps can reduce repetition, but it can also make directional stone or timber look assembled incorrectly. Use per-piece variation that fits the material and maintain the designed joint grid. For continuous plaster, large-scale low-frequency variation may be helpful, provided it does not create obvious cloudy patches. The geometry and mapping strategy should explain the surface before procedural variation is added.
Build map channels with clear assumptions
Roughness, normal and displacement maps need separate reasoning. Turning base colour into grayscale does not automatically reveal roughness: a dark mineral vein is not necessarily glossier than the surrounding stone. Converting brightness to height can also invent relief that does not exist. Decide what the surface should do, then author or estimate channels that support that behaviour. When generating coordinated maps with a specialist tool, check them together under moving light. Agreement between their filenames is not enough; features should align spatially, and the resulting highlights should match the intended finish.
Assign data maps the renderer's raw or non-colour interpretation, and verify the normal-map convention used by the destination application. A normal map affects shading direction; displacement can move geometry and therefore needs explicit scale and appropriate subdivision or tessellation. Avoid exaggerating relief simply because the material looks more detailed that way. A polished tile should not read as eroded rock, and a smooth plaster wall should not acquire a heavy corrugated silhouette. Test each channel individually before enabling the full stack so a bad conversion is not concealed by another equally strong effect.
Validate physical scale in a simple scene
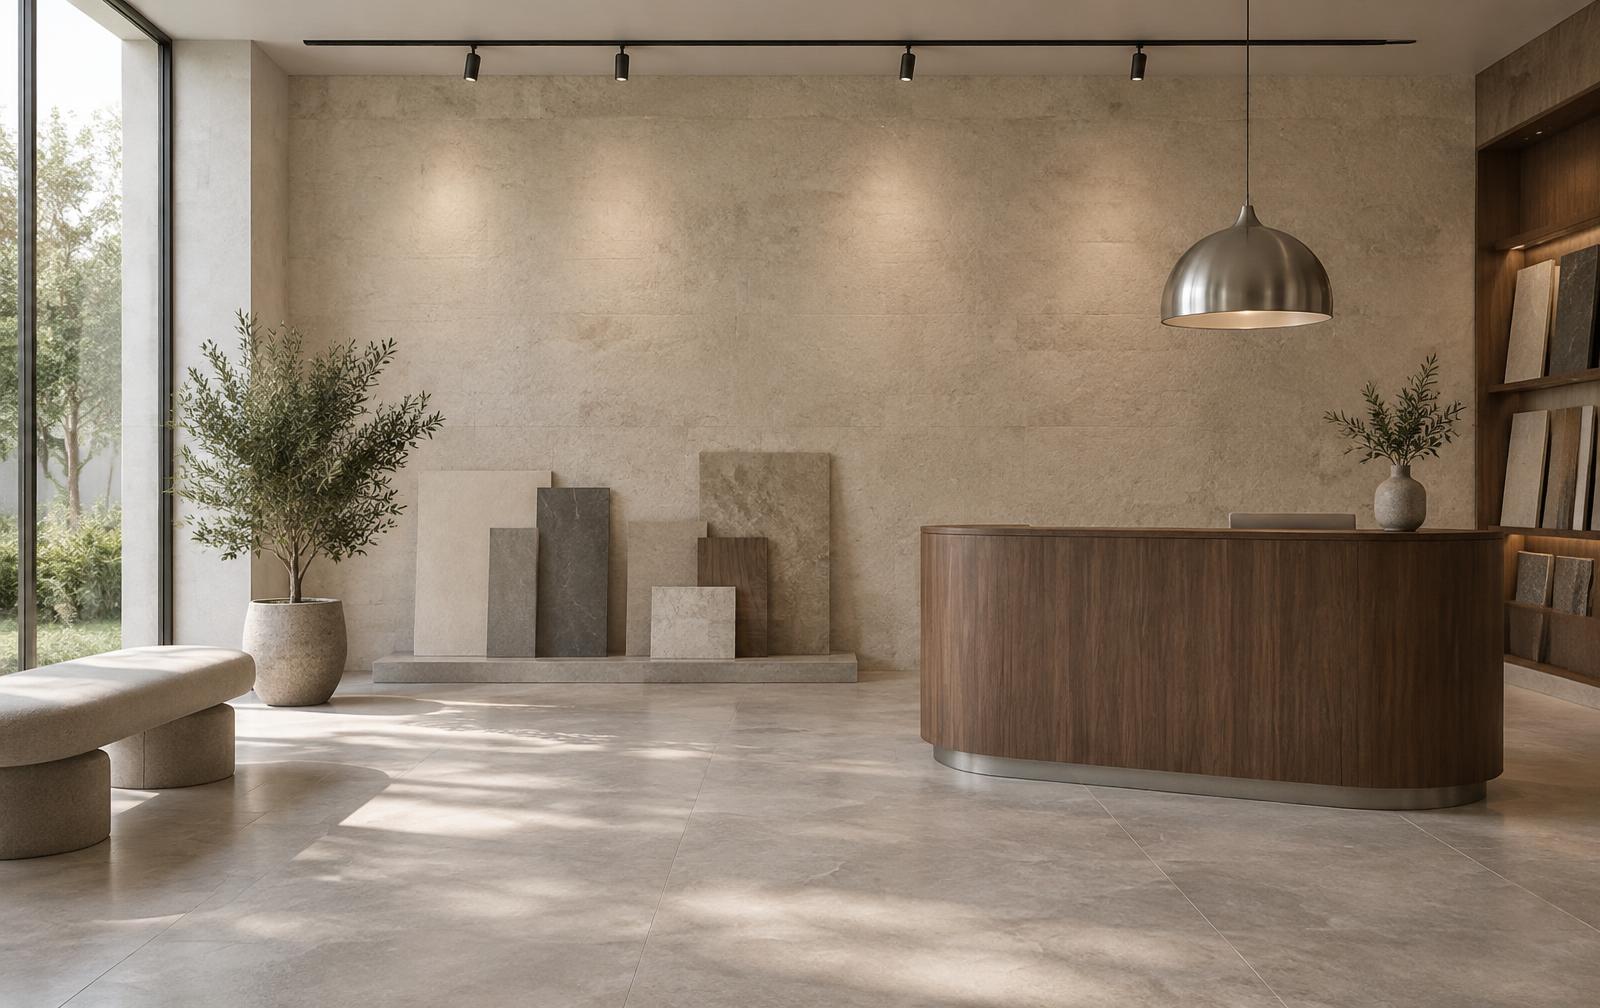
Map resolution does not define physical scale. A large image can depict a tiny patch of material or several metres of wall. Record the intended coverage and set it in the material or UV layout. In a hypothetical showroom with six-hundred-millimetre floor tiles, the tile geometry and joints establish the module while the surface map describes each tile's finish. Do not rely on a texture's painted grid to establish the construction dimensions. The camera should reveal plausible aggregate size, grain spacing and grout width relative to furniture and other objects of known size.
Validate the material on a flat plane, a curved sample and a small architectural corner. The plane exposes tiling and broad colour variation; the curved sample makes roughness and normal response easier to read; the corner shows contact, edge treatment and scale in context. Move a light and the camera while keeping exposure controlled. Test both soft daylight and a more directional source. A material that looks convincing only in the generator's original lighting is not ready for a reusable library. Save a neutral review view as well as a flattering presentation view.
Separate believable appearance from specification
Separate artistic plausibility from a promise about a real product. An AI-assisted ceramic finish might be suitable for an early concept image while remaining unsuitable for procurement or finish approval. Do not label it as a named supplier's product unless it actually represents that product with permission and appropriate reference. Likewise, the ability to generate an image does not resolve every question about commercial usage rights. Review the tool's applicable terms and the commission's requirements. Technical success, legal permission and accurate specification are different checks, and none should be implied by the others.
Keep the source image, derived maps and revision history identifiable. Record the tool and date where useful, but avoid claims that a particular model version guarantees authenticity or accuracy. If an external image was used as a reference, preserve its permitted-use information. Keep project-specific confidential finishes out of unapproved services. A material library tends to outlive the commission that created it, so mark whether a surface is a generic concept, a licensed asset or a project-restricted reference. That small distinction prevents inappropriate reuse when another artist later searches the library.
Package a material someone else can trust
Package the finished material with clear channel names, texture interpretation, physical coverage, normal convention and displacement assumptions. Include the neutral preview and a note about any generated or estimated properties. Do not silently overwrite the original texture when adapting it for a second renderer. Different applications may use different controls even when the maps are shared. A clean handoff allows another artist to recreate the intended response without reverse-engineering a beauty image. It also makes future repairs manageable when a material behaves differently after an engine or colour-workflow change.
A sensible first project is one non-specified concept material with a limited visual role, such as a background plaster wall. Generate the artwork, remove baked lighting, check repetition and validate the shader under more than one lighting condition. If the result needs to match a commercial finish, replace guesswork with suitable supplier or measured reference. AI-generated PBR textures are most valuable as a way to broaden exploration and reduce raw-artwork effort. Their credibility still comes from ordinary material discipline: coherent channels, correct scale, controlled lighting tests and honest documentation of what has been inferred.