Tutorial · 3ds Max
Texture scale is the bug you stopped seeing: fixing tiling in architectural renders
Wrong texture scale undermines more renders than noise, sampling, or shader complexity ever will. How to set real world sizes and kill visible repetition for good.
 TUTORIAL
Texture scale is the error people stop noticing in their own work. You stare at a wall long enough and a brick that is 40 percent oversized starts looking normal. Then a colleague glances at the image for three seconds and says the building looks like a model, and they are right, because scale is the strongest cue the brain uses to judge size.
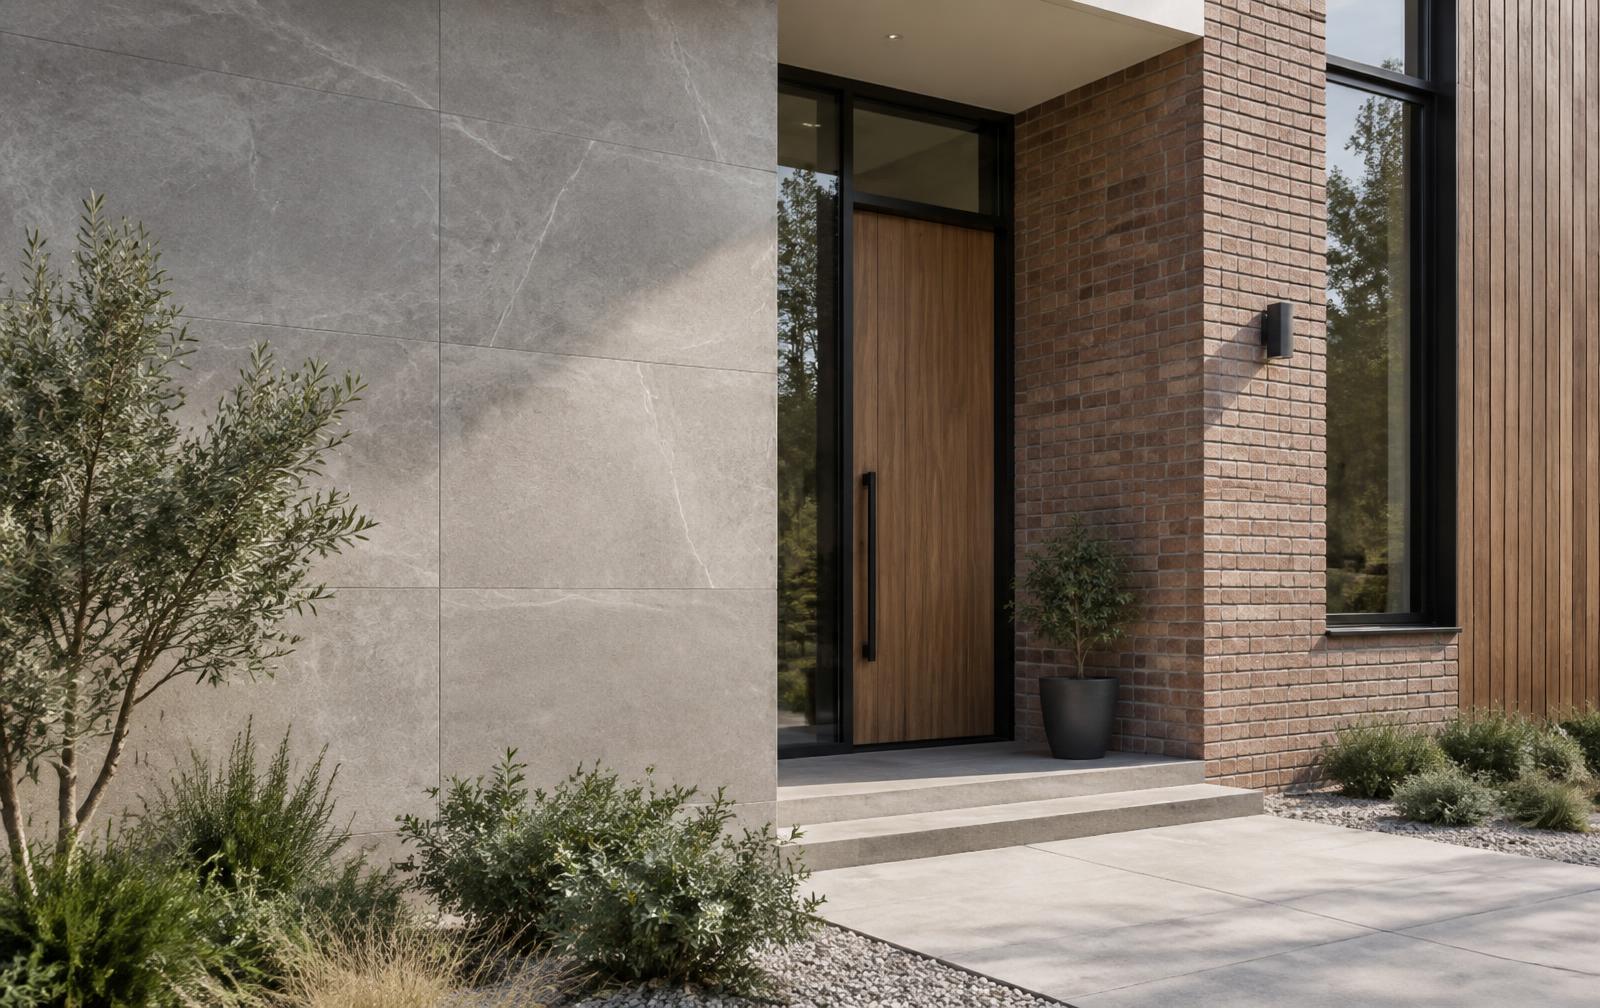
The fix begins with real world mapping. Every serious package supports it, and using it removes an entire category of guesswork. Set a brick texture to the actual physical dimension of the panel it represents, typically 215 by 65 millimeters with a 10 millimeter joint for standard brick, and the material will behave correctly whether it is on a garden wall or a nine storey elevation.
Know the standard modules for common materials, because they are the anchor everything else references. Metric brick at 215 by 102.5 by 65. Common large format porcelain at 1200 by 600 or 3000 by 1500. Standard plasterboard at 2400 by 1200. Timber decking boards typically 120 to 145 millimeters wide. Once these are correct in your library, a scene composed of library assets holds together automatically.
Repetition is the second half of the problem. Even a correctly scaled texture becomes obvious when the same 2048 pixel tile repeats forty times across an elevation. The eye spots the pattern instantly, usually latching onto one dark brick or a distinctive stain that appears in a regular grid. That single repeating feature is what people notice, not the tiling as a whole.
Randomised tiling nodes solve most of this. Whatever your engine calls it, the tool that offsets, rotates, and colour shifts each tile individually breaks the grid without needing new textures. Keep rotation off for directional materials like brick and timber, and rely on offset and subtle hue or value shifts instead. Rotation on a brick map produces vertical courses, which is an obvious error.
For large facades, layering does what tiling cannot. Put a very low frequency variation map over the top of the tiled material, driving slight changes in colour and roughness across the whole elevation. Real buildings weather unevenly, with rain paths under sills, darker zones at the base, and cleaner areas under overhangs. A single large scale mask covering the elevation, at low opacity, kills the wallpaper effect more effectively than any amount of tile randomisation.
Check scale with a human reference rather than by eye. Drop a 1.7 meter figure into the scene and compare the material module against it. A 65 millimeter brick course should be tiny against a person. If it looks chunky, your mapping is oversized, which is by far the more common mistake since oversized textures read as more detailed in isolated preview renders.
Bump and normal map intensity has to scale with the texture too. A grout depth that works on a close up shot becomes a corrugated surface at elevation distance, and vice versa. If you scale a material up or down significantly, revisit the displacement or bump amount rather than assuming it carries over.
Watch for stretching on curved or irregular geometry. Cylindrical and lofted surfaces frequently receive distorted UVs, and a stretched brick on a curved wall is immediately visible. Unwrap properly or use triplanar projection with an appropriate blend width, keeping in mind that triplanar will produce seams at 45 degree faces if the blend is too tight.
Make it a habit to view every material on a test object at real scale before it enters the library, with a figure alongside. Ten minutes of library discipline saves hours of scene by scene correction, and it means new team members inherit correct scale instead of learning it by being told their brick is too big.