Workflow · Unreal Engine
Architectural animation: a production guide to better walkthrough films
Plan architectural animation around the design, not a camera spline. A practical guide to storyboards, camera movement, render budgets, flicker checks, and delivery.
 WORKFLOW
What architectural animation needs to communicate
Architectural animation is a sequence of rendered views that explains a building through time. Unlike an interactive walkthrough, the viewer does not choose the route or stop to inspect a detail. The film must make those decisions for them. Its strongest use is therefore not showing every room, but explaining relationships that a still image cannot: how the entrance meets the street, how a threshold opens into a courtyard, or how daylight changes the character of connected spaces. A beautiful frame is useful, but a clear spatial argument is the real deliverable.
Begin with the audience and the decision. A planning presentation needs context, massing and a legible relationship to neighbouring buildings. A residential marketing film may need the arrival sequence, shared amenities and the connection between living space and terrace. An architect reviewing circulation needs junctions and destinations rather than furniture close-ups. Write down three things the viewer should understand after watching. If a proposed shot contributes none of them, it belongs in a different film. This keeps production effort tied to the brief instead of to whichever corner of the model currently looks impressive.
Build the storyboard before the detailed scene
A storyboard can be simple: one thumbnail, one sentence and an estimated duration for each shot. Give every shot a purpose, such as establishing the site, revealing the entrance or explaining the double-height lobby. Then identify the information carried between shots. A cut from the street to an interior is easier to follow if the entrance door has already been established. Without that connection, the film becomes a slideshow of attractive spaces rather than a coherent building. The storyboard is also where the client should flag missing rooms or an incorrect arrival route.
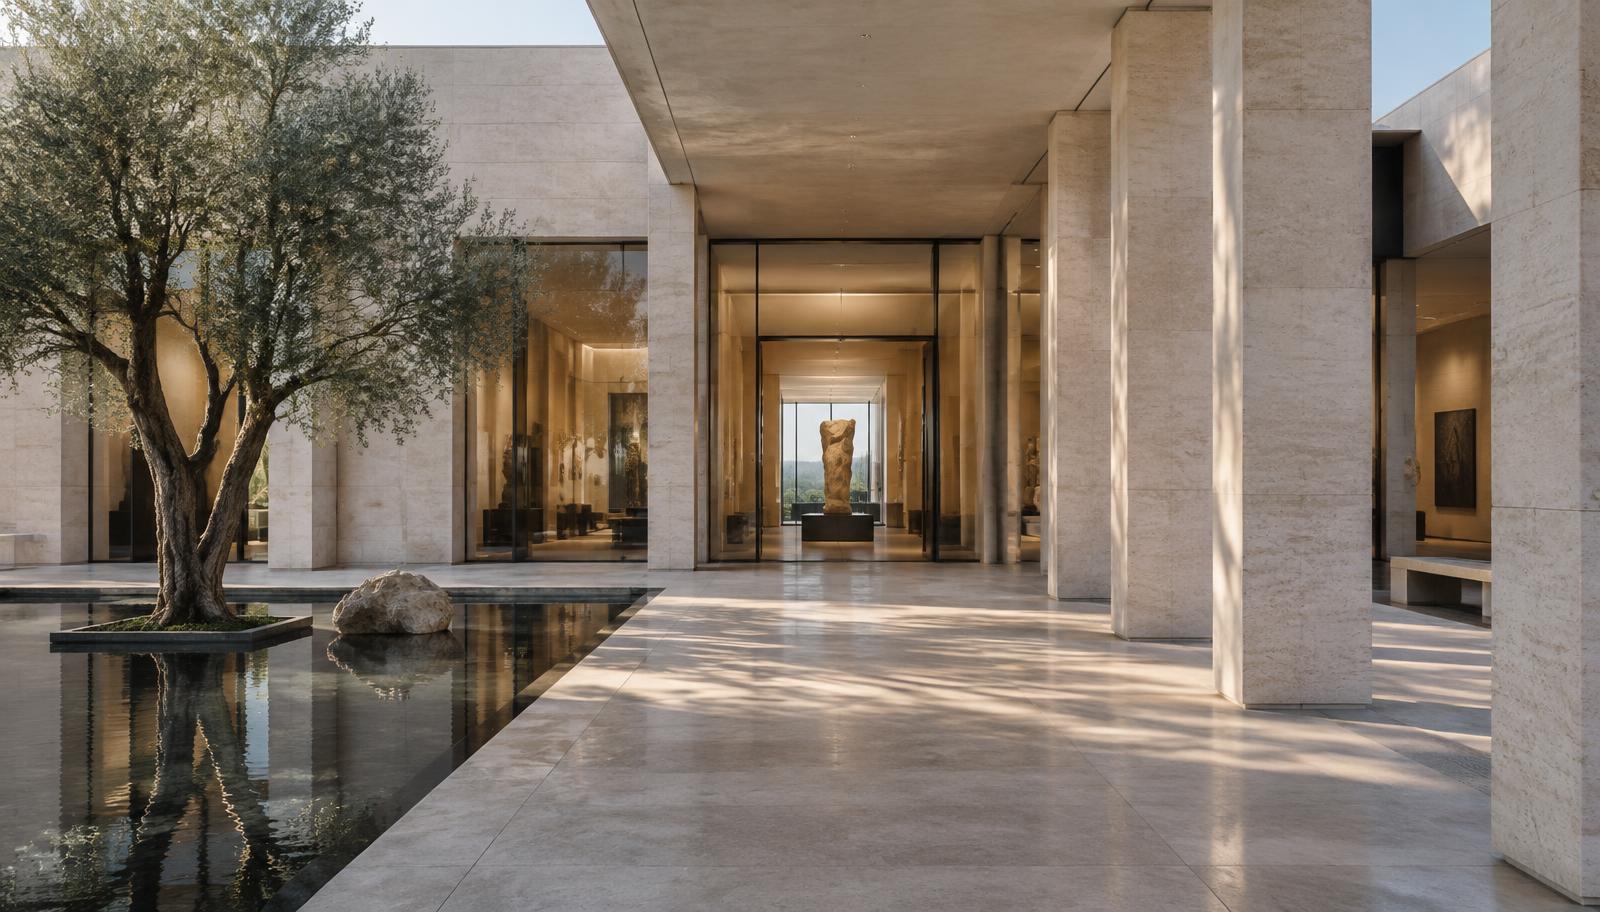
Consider a hypothetical museum film with four beats: street approach, courtyard threshold, lobby reveal and gallery orientation. The courtyard shot should introduce the glazed lobby before the camera reaches it, while the lobby shot should show the gallery entrance before the next cut. That sequence communicates the plan without a diagram. It also tells the modelling team where detail matters. Door hardware on the approach may need close inspection; the roof equipment outside every approved view may only need enough geometry to cast and reflect correctly. Camera coverage, not asset enthusiasm, should determine the level of detail.
Choose camera paths that explain space
Choose movement according to the space. A grounded walkthrough gives a visitor-scale reading of doors, furniture and circulation. An aerial move explains the footprint, landscape or a connection between buildings. Neither is inherently more cinematic. Problems begin when one shot tries to do both, starting at pedestrian height and accelerating into a roof-level orbit without an architectural reason. Treat the lens and camera height as authored decisions. A wide lens can reveal a tight lobby but exaggerate movement near columns; a longer lens can clarify a facade but obscure the depth of an entrance court.
Camera speed should be judged in the image, not only in metres per second. The same translation feels faster beside a close wall than across an open landscape because foreground features cross the frame more quickly. Preview turns and changes in height separately, since rotation can feel abrupt even when the path itself is smooth. Keep the intended destination visible where possible. Avoid passing through glazing, furniture or planting merely because the spline allows it. A camera that violates the building's physical boundaries makes the architecture harder to understand, even if the shot is technically seamless.
Approve the moving draft, not just keyframes
Produce an animatic with simple materials, approximate lighting and the intended edit. It should already include the final aspect ratio, shot order and approximate pacing. Do not request approval only on isolated keyframes: a room may look excellent at both ends of a shot while the intervening move exposes an unfinished ceiling or swings past the subject too quickly. Ask for approval of the route and timing explicitly. Separate that approval from finishes and lighting so a later material change does not silently reopen the entire camera edit.
The animatic is also a visibility audit. Watch each move for clipped geometry, missing backs of furniture, stretched textures and repeated entourage. Moving views expose assumptions that stills hide. A reflection can reveal an unfinished wall behind the camera, and a foreground tree that frames one still may obstruct half the shot. Resolve these problems before increasing render quality. Maintain a shot register with camera version, frame range, scene version and approval state. When feedback arrives, name the shot and timecode rather than describing a vague moment somewhere near the middle.
Budget frames and test the expensive shots
Calculate the frame budget early. A sixty-second film at twenty-four frames per second contains 1,440 frames. If a measured representative frame takes four minutes, serial rendering would take 5,760 minutes, or ninety-six hours, before compositing or encoding. This is a worked example, not a forecast for every engine or workstation. Parallel machines can reduce elapsed time, but startup, asset loading and uneven shot complexity still matter. Measure several frames from the heaviest shot as well as the easiest one. Averages from a single exterior do not describe a glazed interior with many small lights.
Render short sections from the riskiest shots before committing the whole sequence. Include the moving foliage, reflective floor, thin railings and bright window boundaries that are most likely to behave differently in motion. In Unreal Engine, Movie Render Queue provides production-oriented output controls, but its sampling and warm-up settings still need testing in the actual scene. A higher setting is not proof of better results. Capture the test at the intended output size and playback speed, then inspect it without relying on a small compressed preview that may hide unstable details.
Find flicker before the final render
Flicker is a symptom, not a diagnosis. Check for overlapping surfaces first, because nearly coplanar geometry can compete for visibility as the camera moves. Then investigate fine repeated patterns, level-of-detail changes, unstable reflections, indirect-light variation and frame-by-frame denoising. Each needs a different remedy. Raising global samples will not repair duplicate faces, and blurring the whole image to suppress a railing shimmer damages the architecture. Isolate the affected material or object, make a short test and compare at normal playback speed. A stable background is worth more than a sharper individual frame that crawls in motion.
Motion blur should support the camera, not conceal a poor route. Too much blur softens facade articulation and makes rapid pans harder to read. Too little can make movement feel brittle, particularly at lower frame rates. Judge it against the delivery frame rate, camera motion and render method rather than copying a universal preset. Likewise, treat frame interpolation as a separate post-production decision. It can introduce distortions around thin geometry and moving people. An interpolated preview is not a substitute for verifying the native sequence where the architectural lines must remain dependable.
Keep exposure and colour consistent
Exposure changes need a reason. A move from a sunlit courtyard into a lobby may require a transition, but an automatic exposure response that pumps as bright windows enter the frame can make the lighting seem unstable. Start with controlled exposure per shot, then author a transition where the route genuinely changes conditions. Match adjacent shots using neutral surfaces, window highlights and the intended mood, not only a global brightness slider. Fix white balance and the viewing transform across the sequence unless the creative brief deliberately calls for a visible change.
Render to an image sequence when the pipeline permits it. Numbered frames are easier to restart, inspect and replace than a single movie file produced directly by the renderer. Use a compositing-friendly format and documented colour interpretation for the master, then generate review and delivery videos from that master. Keep output folders separated by shot and version. A late frame replacement should not accidentally mix an older light setup into a newer sequence. Archive the approved cameras, frame ranges, renderer settings and any external dependencies alongside the final edit.
Deliver a film that survives real-world viewing
Before delivery, watch the exported file from beginning to end on the channels that matter. Check titles for safe placement, dark rooms for compression damage, fine mullions for shimmer and audio for abrupt cuts. Verify that the first and last frames of every shot match the approved edit. A phone review is useful for a marketing film, but it should not replace the desktop inspection used to judge material and geometry quality. Confirm resolution, frame rate, codec and whether the client needs a clean version without titles or music.
The most practical next step is a small pilot: one approach shot and one interior transition, both approved in a moving draft before final rendering. That pair reveals whether the camera language, lighting strategy and production budget are credible for the rest of the film. Architectural animation becomes expensive when unfinished decisions are multiplied by hundreds of frames. Lock the spatial story first, test the temporal problems second and spend the final render budget only after the moving sequence already communicates the building. The result is a film with a purpose, rather than a costly collection of camera moves.