Real-time · Unreal Engine 5
VR architectural walkthroughs on Quest 3: what works and what still breaks
Real-time VR is the closest archviz gets to site visits without the plane ticket. Here is how we build Quest 3 walkthroughs that clients actually want to finish.
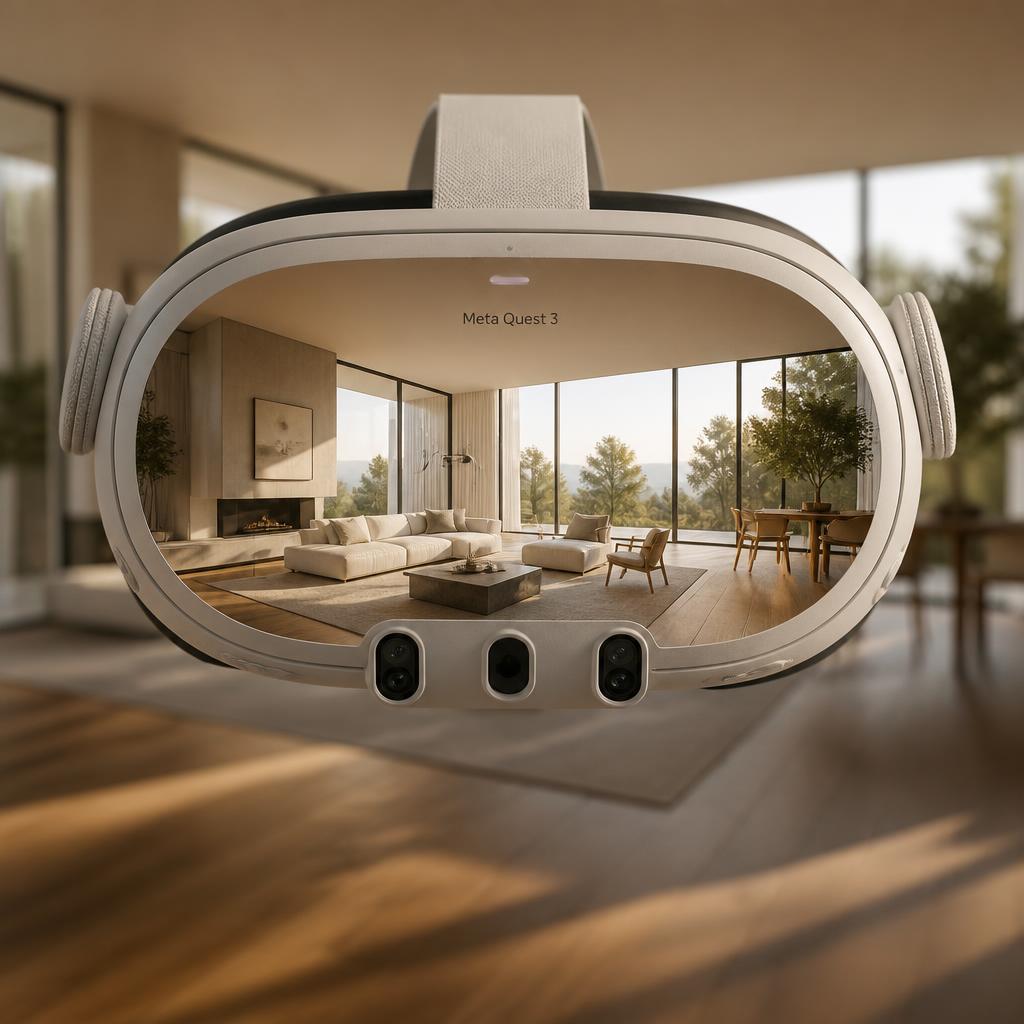 REAL-TIME
I used to think VR walkthroughs were a party trick. Then a client in Singapore put on a Quest 3 and stood in our model of their unbuilt lobby for twenty minutes without taking the headset off. They noticed things no still image had ever surfaced: the ceiling felt too low near the entry, the reception desk blocked sightlines, and the stone on the west wall read darker than the sample. That is when I stopped treating VR as a deliverable and started treating it as a design tool.
The hardware has crossed a threshold. Quest 3 is not perfect, but at 2,064 pixels per eye and proper pancake lenses it is good enough that bad content looks like bad content, not like bad hardware. You cannot hide behind a screen door effect anymore. If your materials are flat or your lighting is baked incorrectly, it shows up immediately in stereo.
We build these in Unreal Engine 5 because Lumen gives us dynamic indirect light without the lightmap headache. Lightmass was fine for static hero shots, but clients always move. They walk up to a wall, look down at a floor joint, or lean toward a countertop. Any pre-baked solution falls apart the moment they get close, and they always get close.
The first production decision is scale. Real-world scale in VR is not a suggestion. A door that is ten centimetres too low becomes a forehead hazard in the headset. We keep a physical tape measure on the desk and constantly verify: eye height at standing is 1.65m, seated at 1.15m, and any bench or counter gets tested in VR before it ships. Architects notice scale errors instantly because their bodies know what a corridor feels like even when their eyes are looking at pixels.
Locomotion is the make or break detail. Teleportation keeps people from getting sick, but it also breaks presence. Smooth locomotion feels better but makes about thirty percent of first-time users uncomfortable. Our current default is a hybrid: teleport for long distances, smooth for small adjustments, and always a physical rotation option so people can turn with their bodies rather than the thumbstick. Giving people agency over how they move matters more than which method you pick.
Materials need to be authored differently. Anything with a normal map that is too aggressive looks like embossed wallpaper up close. We author surfaces at real-world displacement where possible, and if we cannot displace we keep normal intensity conservative. Glossy materials are the real problem: in a still render a perfect reflection looks expensive, but in VR the reflection does not move with your head the way a real mirror would, and the illusion shatters. We add micro-roughness and break up reflections with surface variation so the brain accepts them.
Lighting in VR has one rule: never blow out a window. In a still image you can get away with a bright rectangle because the eye reads it as sky. In stereo, a blown-out window has no depth cue and the room feels like a stage set. We always keep some detail outside, even if it is just a soft gradient, and we use exposure so the interior and exterior sit in the same dynamic range. It costs frames but it buys presence.
Performance targets are brutal. For comfortable VR you want 72 frames per second sustained, and any hitch breaks immersion. We profile constantly with stat unit and stat gpu. Lumen is great but it is not free. On Quest 3 we typically run global illumination at medium, reflections at low, and keep the base pass under 1,500 draw calls. Vegetation gets LOD aggressively. Anything farther than ten metres becomes impostors or cards.
Audio is the detail most archviz studios skip, and it is a mistake. Even a simple ambient track, footsteps that match the floor material, and a little reverb in large spaces makes the space feel occupied. Silence in VR is unnerving. We keep a small library of ambient loops and add spatial audio near key features like water or fireplaces. It takes an hour and the payoff is huge.
The business side is changing too. We used to charge VR as a premium add-on. Now clients expect it as part of the package, especially for hospitality and residential developments. The studios that treat it as a core competency are winning pitches because they can hand a client a headset and say, walk around. That is a hard thing to compete against with stills alone.
My honest advice: start with one room. Do not try to build an entire building in VR for your first project. Pick a space with good material variety, get the scale right, and iterate with real people wearing the headset. The mistakes you find in the first hour will teach you more than any tutorial.