Tutorial · SketchUp Pro 2026, V-Ray 7
SketchUp to V-Ray, honestly: a workflow that actually holds up
Most architects working in SketchUp get told to switch to 3ds Max. You don't have to. Here's how I get proper photoreal work out of SketchUp using V-Ray.
 TUTORIAL
There's a snobbery in the rendering world that says if you're serious you use 3ds Max. I've worked in both for years and I can tell you SketchUp with V-Ray, if you set it up properly, gets you 90 percent of the way to a Max result with a fraction of the modelling time. For architects who model in SketchUp anyway, jumping to Max just to render is throwing away hours you did not need to throw away. The gap is real but it is smaller than the internet claims.
Where SketchUp genuinely falls short is in high polygon organic modelling and in scatter systems. If your project needs 400 unique trees or a fully modelled cloth drape, you are going to suffer. For everything else, meaning almost all residential and small commercial work, SketchUp holds up fine. The trick is knowing how to work with it rather than fighting it.
My model hygiene rules are simple. Everything is a component, never a group unless it is truly single use. Component instances share memory and V-Ray recognises them as instances too, so a house with 30 identical windows uses the memory of one window. I purge unused geometry before every render. I keep the model at real world scale using meters, never SketchUp's default inches, because V-Ray light falloff numbers only make sense at real scale. And I keep a separate scene called RENDER with the camera locked, so I never accidentally rotate the view between takes.
For materials I use the V-Ray asset library as a starting point but I always tweak. The stock oak floor is fine as a base but the reflection glossiness is set too tight for a real matte finish. I drop it from 0.9 to about 0.75 and add a tiny bit of bump. For exterior render brick and concrete, the trick that changed my work most was giving every material a subtle noise in the reflection roughness map, not just the color. Real materials never reflect uniformly. Uniform reflection reads as CGI even before the eye can articulate why.
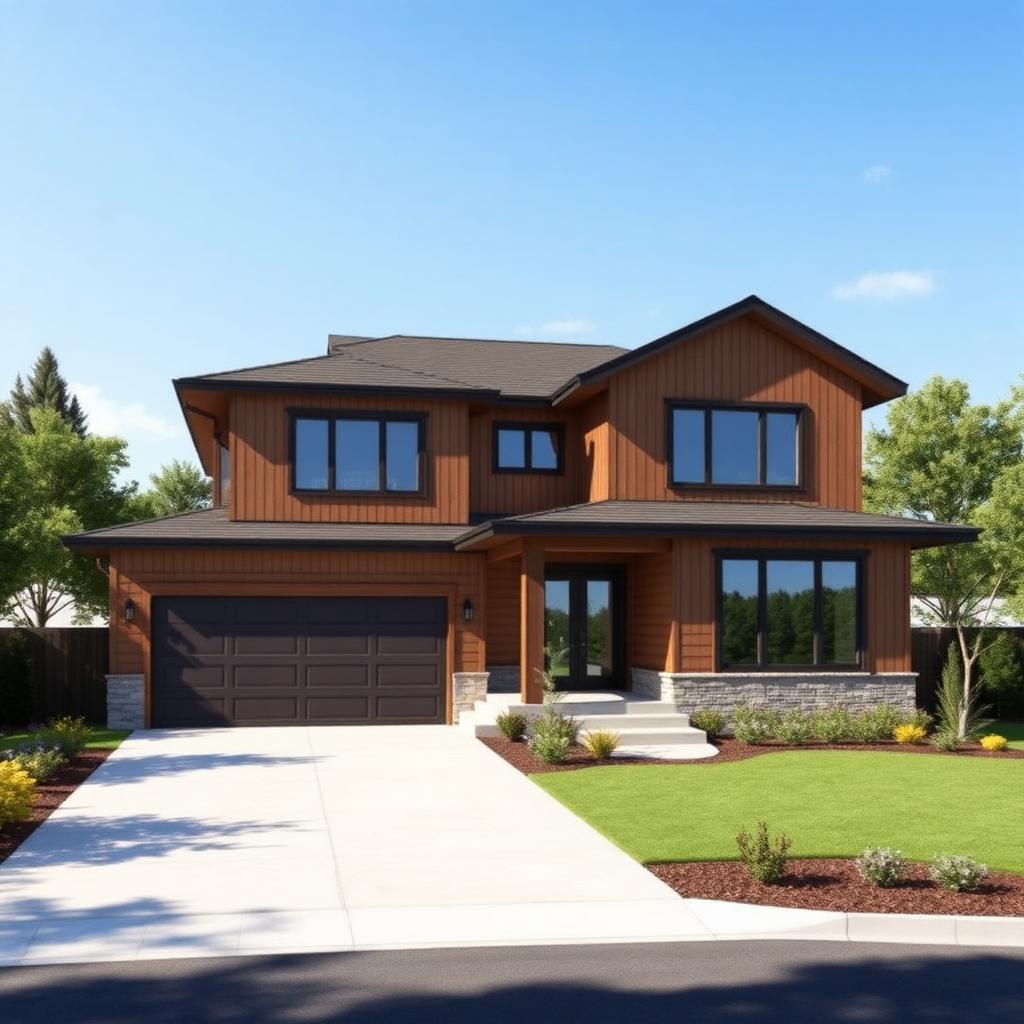
Lighting a SketchUp exterior with V-Ray, I use the V-Ray sun and sky for the main light every single time. Location and time are set from the geo location tab. I aim for a sun elevation between 15 and 35 degrees, never noon, because overhead sun kills the volume of the building. For the sky I usually go with PRG Clear at turbidity 3, unless the client wants overcast in which case I switch to Hosek with a manual gradient dome for control.
Interiors are where SketchUp with V-Ray actually shines. Because the modelling is fast, you can iterate lighting setups quickly. I use a V-Ray sun through the main window as the key, a large V-Ray light plane behind the window frame at low intensity for fill, and portal lights on every other opening. Portals are non negotiable. Without them your interior GI will be noisy and slow. With them you can render clean 4k stills in 20 to 40 minutes on a modern GPU.
Denoising is the last piece and V-Ray 7's NVIDIA denoiser is genuinely production ready now. I render with progressive sampling to a noise threshold of 0.03 for stills, denoise at the end, and 90 percent of the time the result is clean enough to hand over. The other 10 percent I bump the threshold to 0.02 and take the extra render time. I do not use the intel denoiser inside SketchUp for stills because the temporal filtering is not needed and OptiX handles single frames better.
The one workflow habit I will preach to anyone who will listen is separate render elements. Render out reflection, refraction, lighting, GI, and a Z depth pass every time. It costs almost nothing at render time and it saves you from having to re-render for small changes in post. Client says the reflections are too strong. You dim the reflection layer 15 percent in Photoshop and send. If you flattened everything at output, you are re-rendering.