Lighting · V-Ray 7
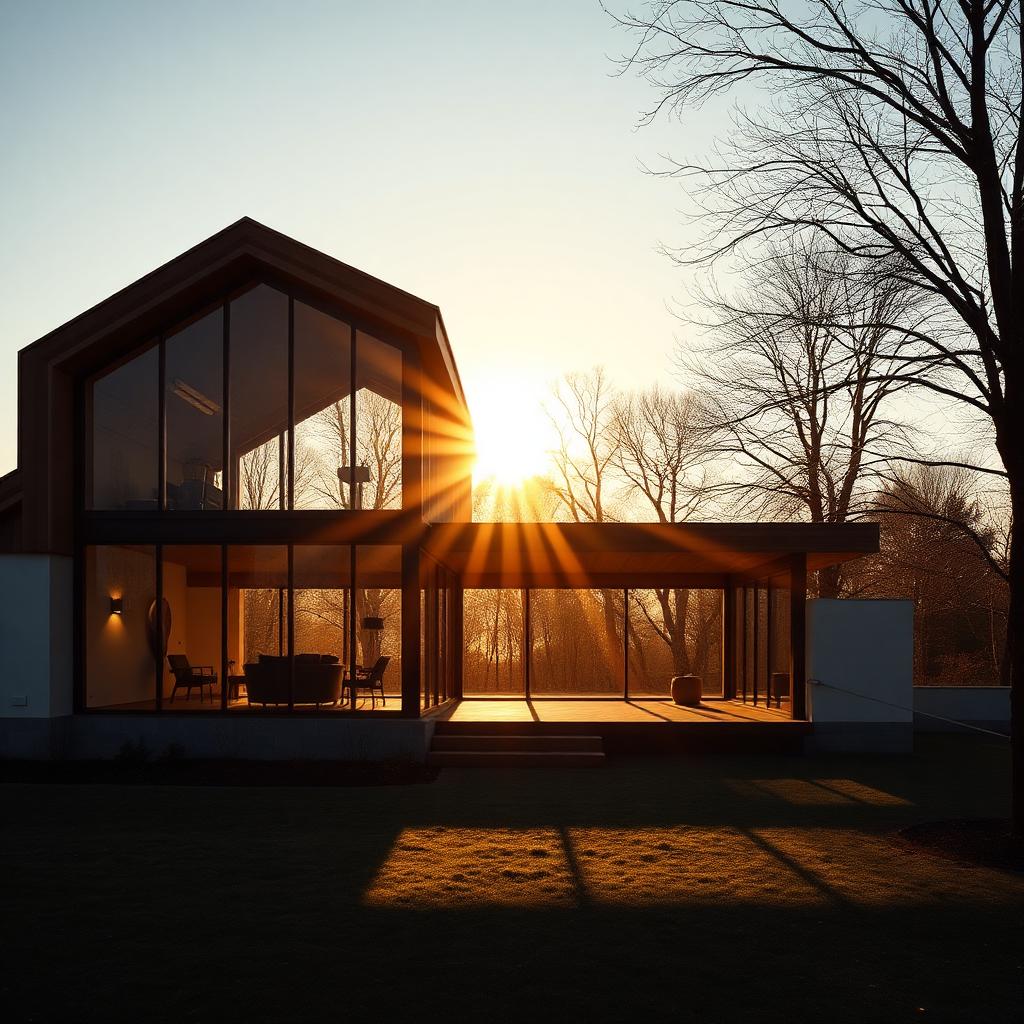
Golden hour lighting in V-Ray: sun, sky, and believable long shadows
Why your dusk renders keep coming out orange instead of warm, and the two node change in V-Ray 7 that fixes it in about ninety seconds.
 LIGHTING
Golden hour is a lie sold by phone cameras. Real dusk light is warm, yes, but it is also low contrast, blue in the shadows, and softer than any HDRI preset ships with. The first job of a good V-Ray setup is to unlearn what your phone taught you.
In V-Ray 7, drop a VRaySun with an intensity multiplier of 0.4 and a size multiplier of 4. That size multiplier is what most artists never touch, and it is the difference between a shadow that reads as photographic and one that looks like a print stencil pressed against the wall.
Pair it with a VRaySky in the Hosek model. Ground albedo at 0.35 for stone plazas, 0.2 for asphalt. The albedo is what pulls warm bounce back into the underside of eaves and soffits, and that single detail sells the phrase late afternoon more than any color grade will.
Then, and only then, add a VRayEnvironmentFog with a height of 60m and a density around 0.0008. It kills the harsh sky to ground transition you get on any tall building shot and gives you those long dusty rays without turning the render into a 1990s music video. If you find yourself pushing density above 0.002 you are almost certainly compensating for a lighting problem somewhere else.
A trick I picked up from a landscape photographer, of all people: cool your shadow tint by about 8 to 12 percent toward blue in post. Reality has cool shadows at dusk because the sky is the fill light, and CG shadows almost always render too neutral. This one push is what people mean when they say a render feels shot rather than made.